$13 voice assistant for Home Assistant
This tutorial will guide you to turn an ATOM Echo into a voice assistant. Pick up the tiny device to talk to your smart home. Issue commands and get responses!
Prerequisites
- Home Assistant 2023.10 or later, installed with the Home Assistant Operating System. If you do not have Home Assistant installed yet, refer to the installation page for instructions.
- Home Assistant Cloud or a manually configured Assist Pipeline
- Have enabled a wake word for your voice assistant
- The password to your 2.4 GHz Wi-Fi network
- Chrome (or a Chromium-based browser like Edge) on desktop (not Android/iOS)
- M5Stack ATOM Echo Development Kit
- USB-C cable to connect the ATOM Echo
Installing the software onto the ATOM Echo
Before you can use this device with Home Assistant, you need to install a bit of software on it.
-
Make sure this page is opened in a Chromium-based browser on a desktop. It does not work on a tablet or phone.
-
Select the Connect button below. If your browser does not support web serial, you will see a warning instead of a button.
-
For advanced users: The configuration file is available on GitHub
.
-
-
To connect the ATOM Echo to your computer, follow these steps:
- In the pop-up window, view the available ports.
- Plug the USB-C cable into the ATOM Echo and connect it to your computer.
- In the pop-up window, there should now appear a new entry. Select this USB serial port and select Connect.
-
Troubleshooting: If no new port shows, your system may be missing a driver. Close the pop-up window.
- In the dialog, select the CH342 driver, install it, then Try again.
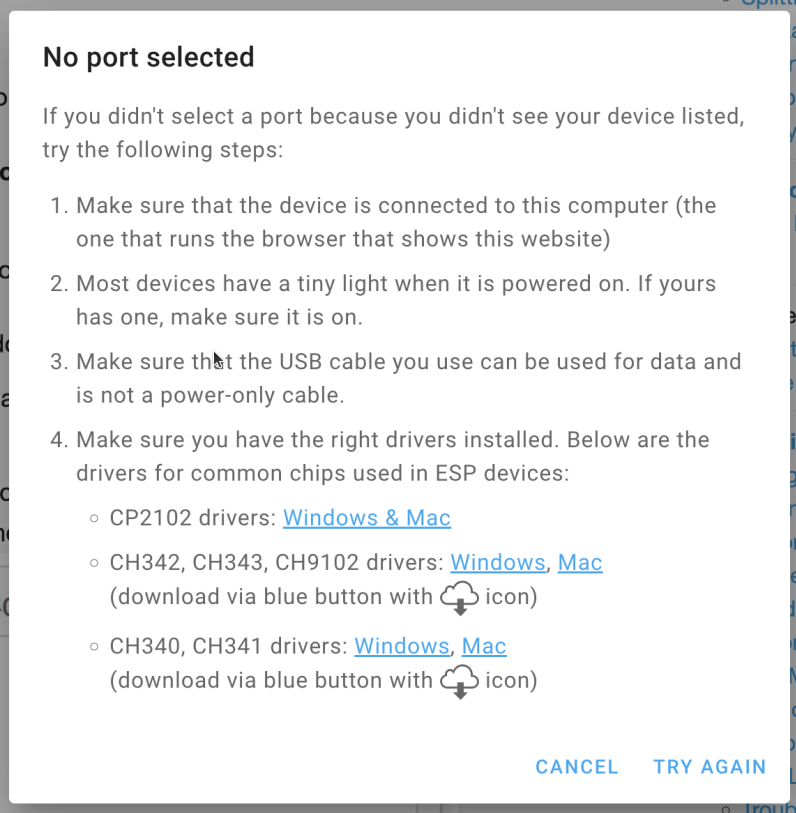
- In the dialog, select the CH342 driver, install it, then Try again.
-
Select Install Voice Assistant, then Install.
- Once the installation is complete, select Next.
- Add the ATOM Echo to your Wi-Fi:
- When prompted, select your network from the list and enter the credentials to your 2.4 GHz Wi-Fi network.
- Select Connect.
- The ATOM Echo now joined your network. Select Add to Home Assistant.
-
This opens the My link to Home Assistant.
-
If you have not used My Home Assistant before, you will need to configure it. If your Home Assistant URL is not accessible on
http://homeassistant.local:8123, replace it with the URL to your Home Assistant instance. -
Open the link.

-
-
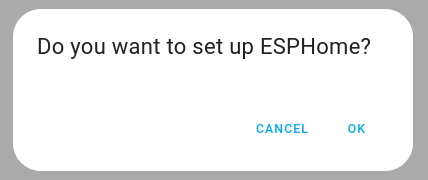
Select OK.
-
To add the newly discovered device, select the ATOM Echo from the list.
- Add your ATOM Echo to a room and select Finish.
-
You should now see the ESPHome integration.
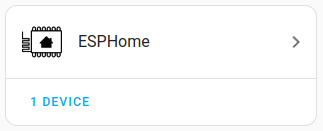
-
Select the ESPHome integration. Under Devices, you should see the M5Stack Atom Echo listed.
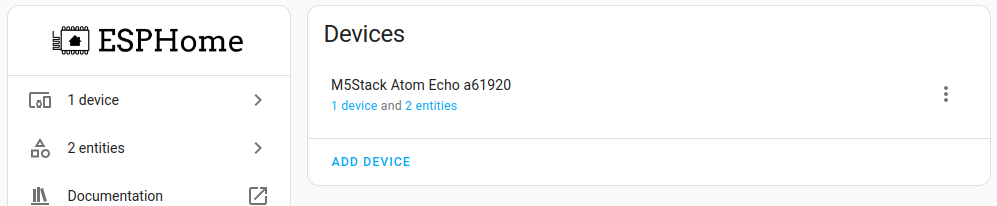
- Your ATOM Echo is connected to Home Assistant over Wi-Fi. You can now move it to any place in your home with a USB power supply.
-
Congratulations! You can now voice control Home Assistant. Now give some commands.
Controlling Home Assistant over the ATOM Echo
- Say your wake word. For this tutorial, use “OK, Nabu”.
- Wait for the LED to start blinking in blue.
- Say a supported voice command. For example, Turn off the light in the kitchen.
- While you are speaking, the blue LED keeps pulsing.
- Once the intent has been processed, the LED lights up in green and Home Assistant confirms the action.
- Make sure you’re using the area name exactly as you defined it in Home Assistant.
- You can also ask a question, such as
- Is the front door locked?
- Which lights are on in the living room?
- Your command is not supported? Add your own commands using a sentence trigger.
- You find ATOM Echo takes too long to start processing your command?
-
Adjust the silence detection settings.
-
Go to Settings > Devices & Services and select the ESPHome integration.
-
Under M5Stack ATOM Echo, select 1 device. Under Configuration, change the Finish speaking detection.
-
This setting defines how much silence is needed for Assist to find you’re done speaking and it can start processing your command.
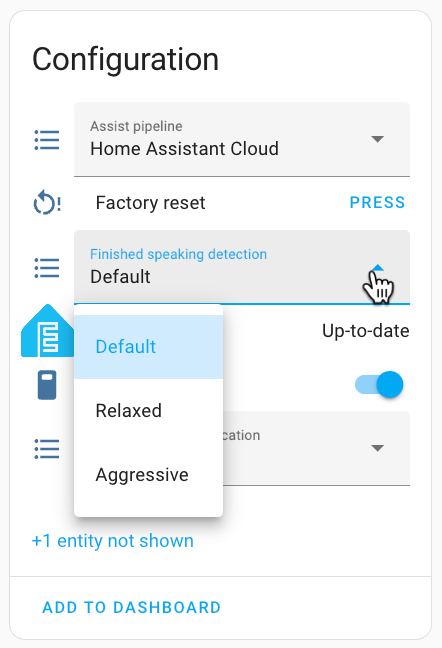
-
Troubleshooting
Are things not working as expected?
- Checkout the general troubleshooting section for Assist.